As summer approaches, one of the most important things you can do is make sure that your home is equipped with a reliable cooling system. One type of air conditioning system that has grown in popularity in recent years is the mini-split AC. Compared to traditional AC units, mini-split systems are much more energy-efficient, quieter, and easier to install. In this blog, we’ll walk you through the steps of how to install a mini-split AC.
What is a mini-split AC?
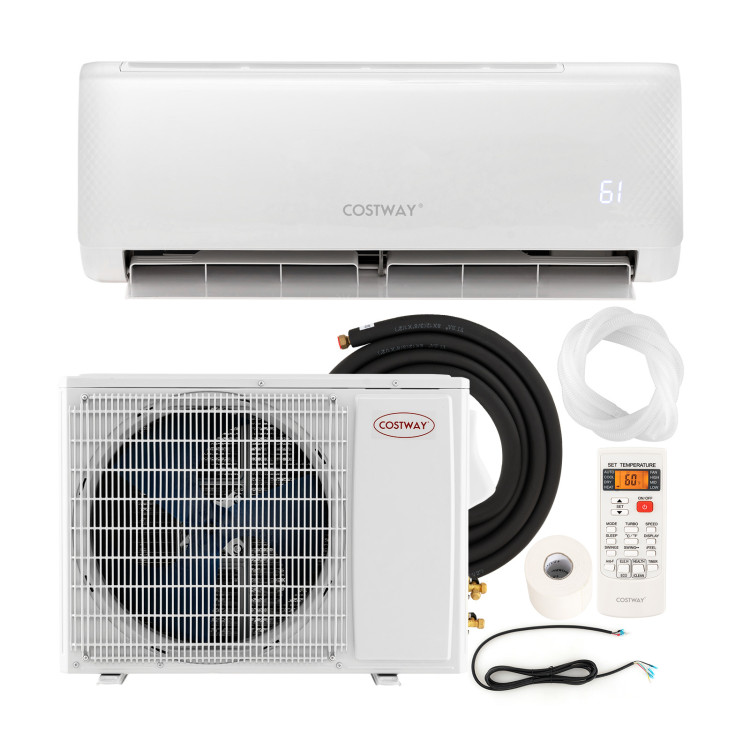
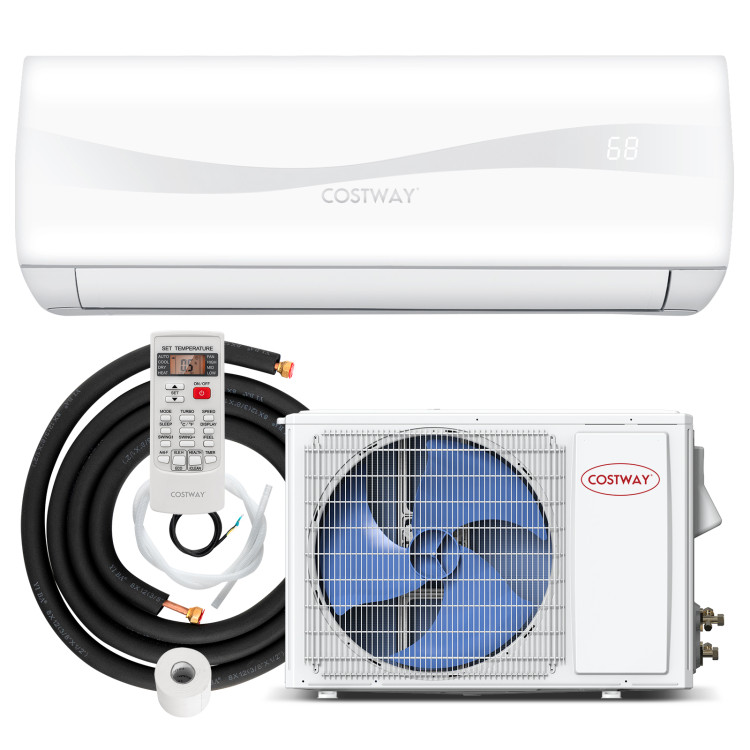
Before we get into the installation process, let’s briefly review what a mini-split AC is. A mini-split AC is a ductless air conditioning system made up of an outdoor compressor (or condenser) unit and one or more indoor air-handling units. These indoor units are mounted high on the wall and are connected to the outdoor unit via refrigerant lines and electrical wiring.
What you’ll need:
– Mini-split AC unit
– Drill
– Hole saw
– Electrical wiring
– Refrigerant lines
– Mounting hardware
– Screwdriver
– Pipe cutter
Step 1: Plan the installation location
Before you begin the installation process, it’s important to first plan where the indoor and outdoor units will be installed. Ideally, the indoor unit should be installed in a location that will allow for optimal air circulation throughout the room. The outdoor unit should be installed in a location that is well-ventilated and easily accessible for maintenance.
Step 2: Install the outdoor unit
The first step in installing a mini-split AC is to install the outdoor unit. Start by drilling a hole in the wall where the refrigerant lines and electrical wiring will pass through. Then, locate a suitable spot for the outdoor unit and use the mounting hardware to securely attach it to the wall.
Step 3: Install the indoor unit
Next, it’s time to install the indoor unit. Again, drill a hole in the wall where the refrigerant lines and wiring will pass through. Then, mount the unit high on the wall, making sure it’s level and secure. Once it’s mounted, connect the refrigerant lines and wiring to the unit.
Step 4: Connect the refrigerant lines and electrical wiring
Using the pre-cut refrigerant lines, connect the outdoor unit to the indoor unit. You’ll also need to connect the electrical wiring to both the indoor and outdoor units. If you’re not comfortable doing this yourself, it’s best to hire a licensed HVAC professional to do the job for you.
Step 5: Test the system
Once the installation is complete, it’s time to test the system to make sure it’s working properly. Turn on the power to the indoor and outdoor units and allow the system to run for a few minutes. Check that the air coming from the indoor unit is cold and that the outdoor unit is running quietly.
In conclusion, installing a mini-split AC is a relatively straightforward process that can be done by most homeowners with basic DIY skills. However, if you’re not comfortable doing the installation yourself, it’s best to hire a licensed HVAC professional to ensure a safe and proper installation. Once installed, a mini-split AC can provide you with reliable and energy-efficient cooling for many summers to come.